Why Stained Glass Looks Blown Out: Fixing Backlit Windows in Camera
Stained glass blows out because you're shooting a light source from a dark room. Here's how to meter, expose and bracket so the glass keeps its detail.
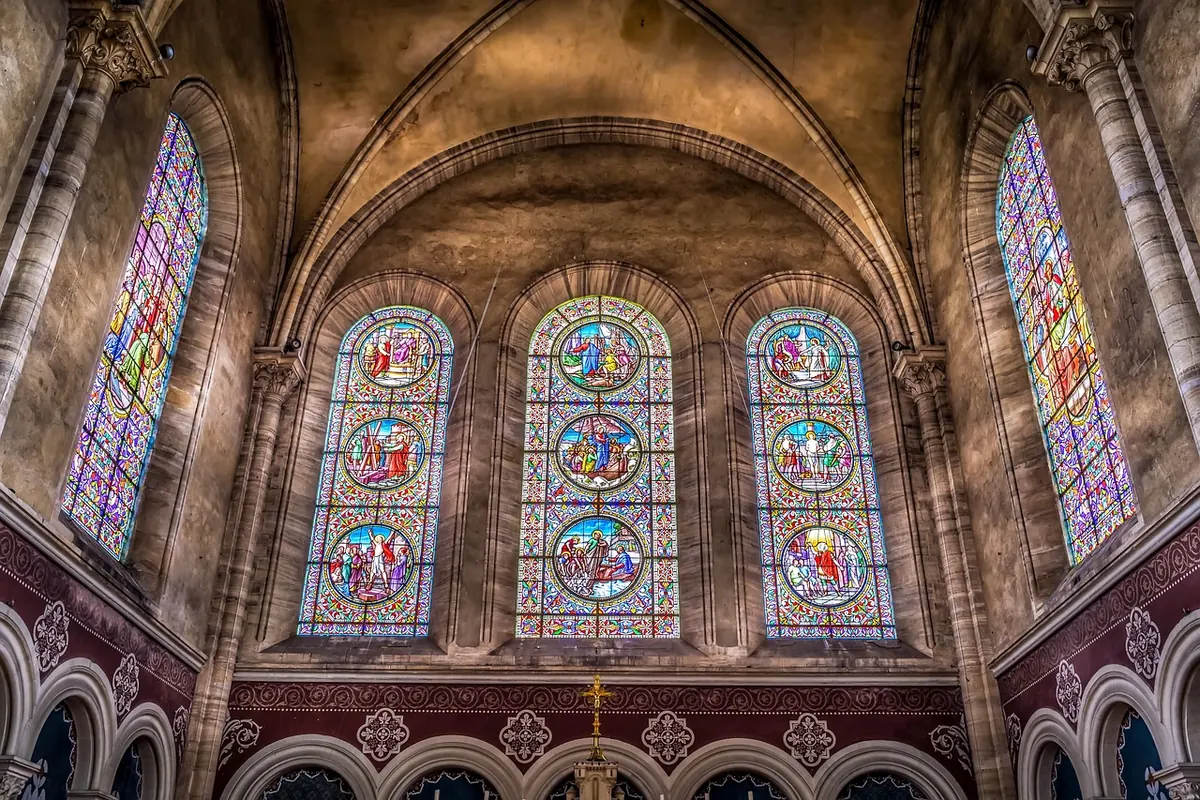
You frame the window, press the shutter, and check the back of the camera. The glass is a white smear, the tracery has gone to black, and the faces you came for have disappeared. The room did not look like that.
The camera isn't broken. A stained glass window is a light source, and you are photographing it from inside a dark box. Any exposure that keeps the stonework visible burns the glass; any exposure that keeps the glass readable sinks the room. Understanding that tug-of-war — and deciding where to let it end — is most of the craft.
Why the Window Is So Hard to Expose
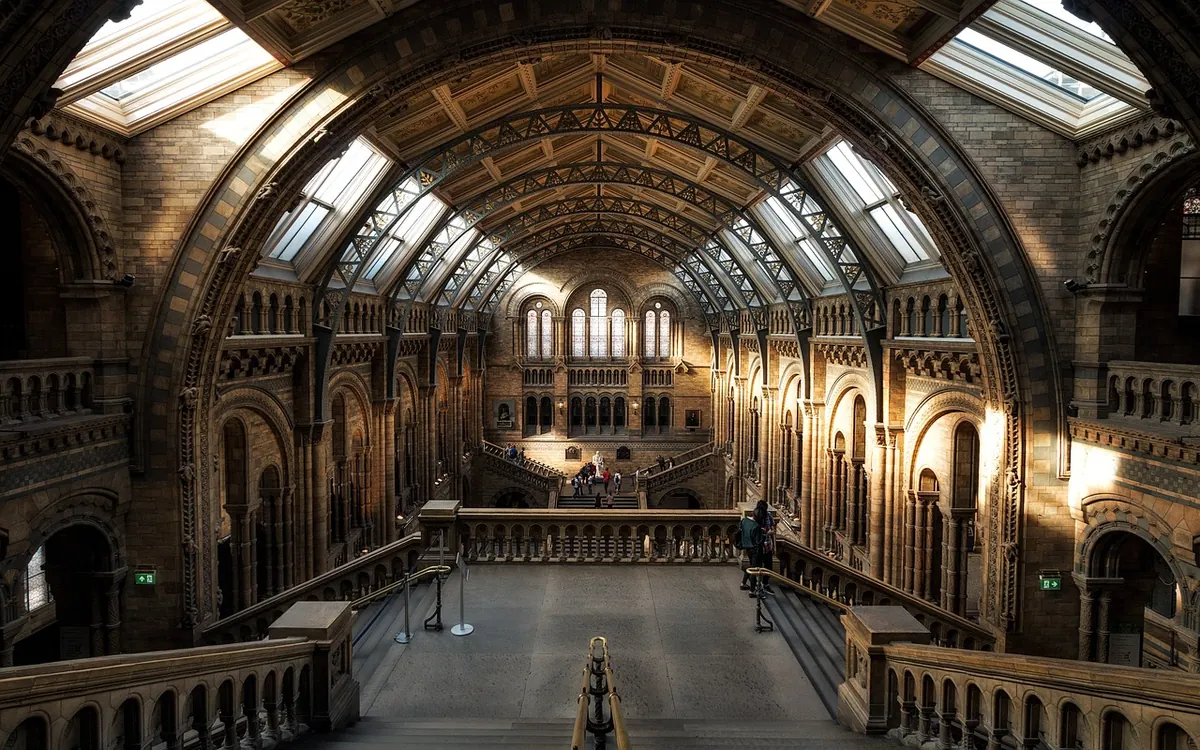
A sensor holds usable detail across a few stops above and below middle gray in a single raw frame. A sunlit window seen from an unlit nave can span far more than that; the brightest pane and the darkest pew may sit a dozen stops apart. Something has to give.
Most cameras decide by averaging the scene, and most of the frame is dark — pews, stone, shadow. The meter brightens what it sees, and the glass, already near the top of the range, gets pushed past white. A green pane turns pale mint, a red one flat orange. Once a channel clips, no slider brings the drawing back.
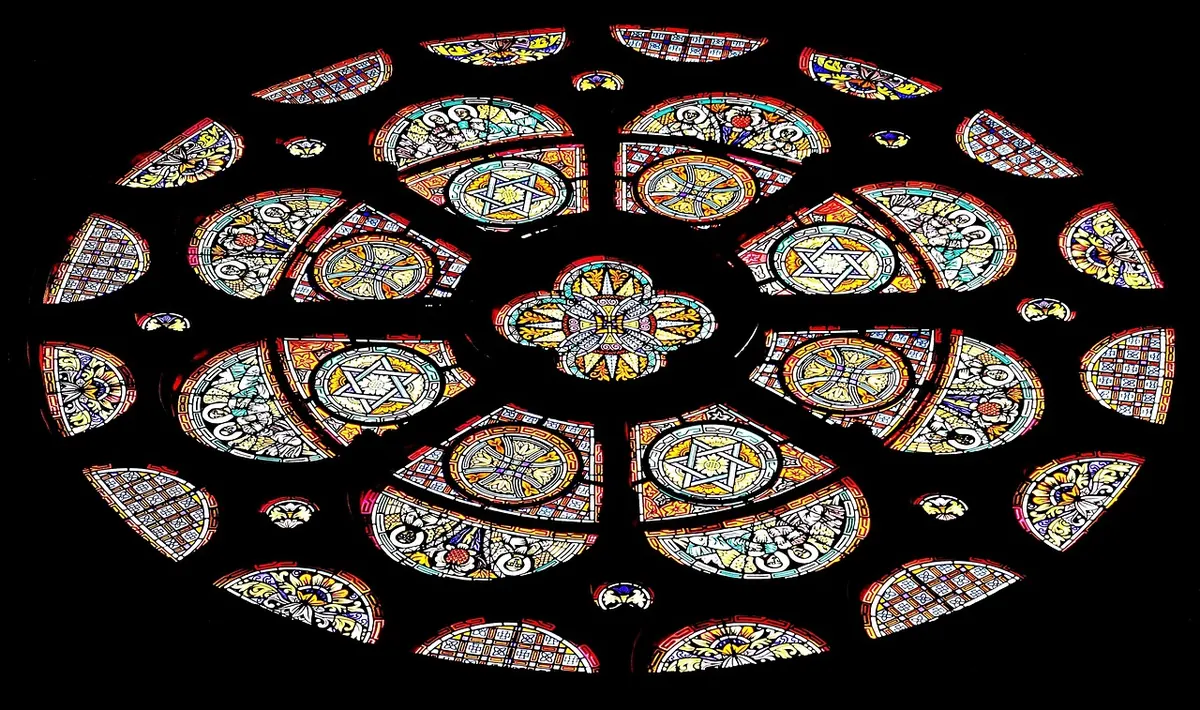
Color makes this worse than the histogram suggests. A blue or red pane can lose its internal texture while the combined histogram still looks ordinary, because one channel has topped out. Watch the RGB histogram, and trust the blinking highlight warning.
There is a second problem, and it is the one people forget: a window is not one light source, it is twenty. The panes facing the sun can be two or three stops brighter than their neighbours ten feet away. A figure done in pale yellow glass may be blowing out while the deep blue border beside it is still far too dark. You are not metering a window; you are metering a wall of small, wildly unequal lamps.
Find the Brightest Pane First
Walk up to the window and look for the light that is hardest to hold: the small white or pale-yellow panel, usually near the centre, or whichever piece sits closest to the direction of the sun. That pane sets your ceiling. Everything else in the frame has to fit underneath it.
Switch the camera to spot metering and take a reading off it. Then meter the darkest thing you actually care about — the stone sill, the nearest pew, the shadowed face of a saint in the aisle. The distance between those two numbers is your problem, stated plainly and in stops.
If the gap is five or six stops, a single frame may hold it all. If it is ten, it will not, and no amount of careful sliding in the raw converter will change that. Take one test frame at the bright reading, check the blinking highlights, and then decide what you are willing to lose.
Decide What to Sacrifice
There are only three honest answers, and nearly every good stained glass photograph is one of them.
Expose for the glass
Let the glass be correct and let the room go dark — sometimes completely black. This is the classic look, and it is usually the right one: the window becomes an object, and the surrounding darkness is what makes it glow. Recovering a little shadow detail is fine, but do not fight for the pews. If the stonework matters, bring a small torch or bounce a phone screen to lift the nearest wall by a stop. A faint amount of ambient light reads as detail; a completely black frame reads as nothing at all.
Expose for the room
Meter the interior and let the window burn. This works when the architecture matters more than the glass — a wide view down the nave, a silhouette against bright panes, a congregation lit by a window that only has to suggest colour. The risk is that clipped colour looks ugly rather than bright: orange panes go pink, greens go grey. Check the RGB histogram and stop down until the highlights are merely luminous rather than flat.
Bracket and blend
Two or three frames on a tripod, one set to hold the glass and one set to hold the room, merged later with the window painted back in. The catch is honesty at the edges: tracery is thin and dark, and sloppy blending leaves halos around every mullion. Do the mask by hand, keep some shadow in the room so it still feels like a church, and resist making the interior look like a lit stage.
Whichever you choose, choose it before you shoot. The failure mode is not the wrong choice — it is standing there letting the camera average the scene and hoping.
Small Moves That Buy You Stops
None of these closes a ten-stop gap on its own, but together they can turn an impossible frame into a workable one.
- Use a tripod and the lowest native ISO. A church interior is exactly the situation ISO 100 exists for; every bit of noise you avoid is a stop of shadow you can lift later.
- Wait for the cloud. A thin overcast flattens the window by a stop or two and evens out the panes — and it gives you an honest exposure for the room at the same time.
- Move your feet. Shooting square-on from close up maximises flare and reflection; backing up with a longer lens reduces both the glass you are pointing at and the bright area filling the frame.
- Kill stray light behind you. Turn off interior lights, darken a bright doorway, and use a lens hood. Flare washes out precisely the window detail you are trying to protect.
- Be careful with a polariser. It does almost nothing for light coming through the glass, and it can shift the colour of the panes. It is useful against reflections on the outside of the building, which is a different photograph entirely.
What Can Be Fixed Later, and What Cannot
Highlight recovery in a raw converter is real, but it is a rescue service, not a cure. It works on channels that have run up near the ceiling without hitting it, and it works best on reds and yellows — which are also the easiest colours to falsify. Anything fully clipped, where one channel sits at maximum across a whole pane, is gone. Pulling the highlights down will only give you a smooth, characterless wash of colour.
Shadow recovery is far more forgiving, which is why the standard advice leans toward protecting the highlights. Noise is easier to live with than a blank white window, and a little grain actually suits stone.
Expose for the glass and the room becomes a frame. Expose for the room and the glass becomes a lamp. Decide which one your photograph is about.
That decision, made on the spot while the light meter tells you the cost, is the whole difference between a window that looks blown out and a window that looks lit.
Photo: ddzphoto / Pixabay