Chapel Photography Gear Checklist: 18 Items to Pack Before You Go
A practical packing list for chapel photography: the lenses, supports, filters, cloths and small accessories that keep a shoot steady, quiet and on schedule.
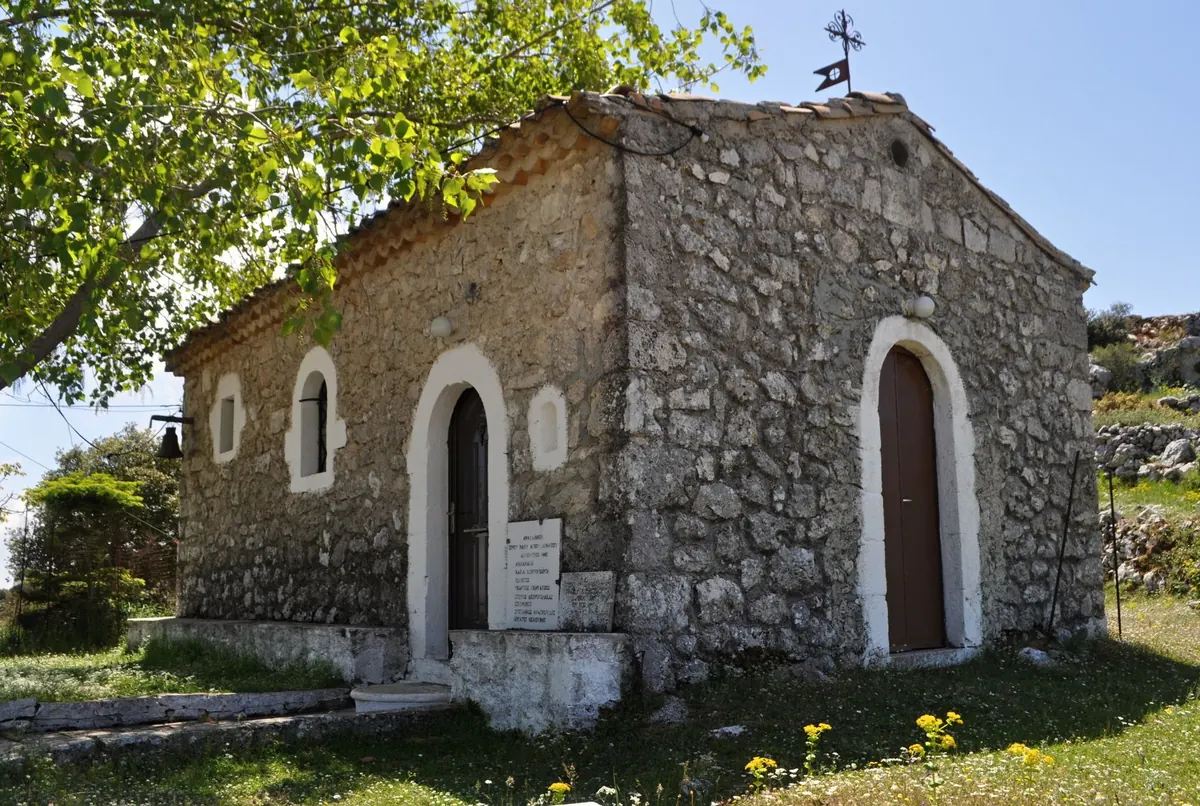
A chapel gives you stone, glass, timber and about four paces of working room. Light falls off two stops between the door and the altar rail, tripods may be banned the moment a service begins, and the floor is either polished to a mirror or covered in a hundred years of dust. The kit that survives a chapel shoot is not the biggest kit. It is the kit you can carry in one trip and set up in the dark.
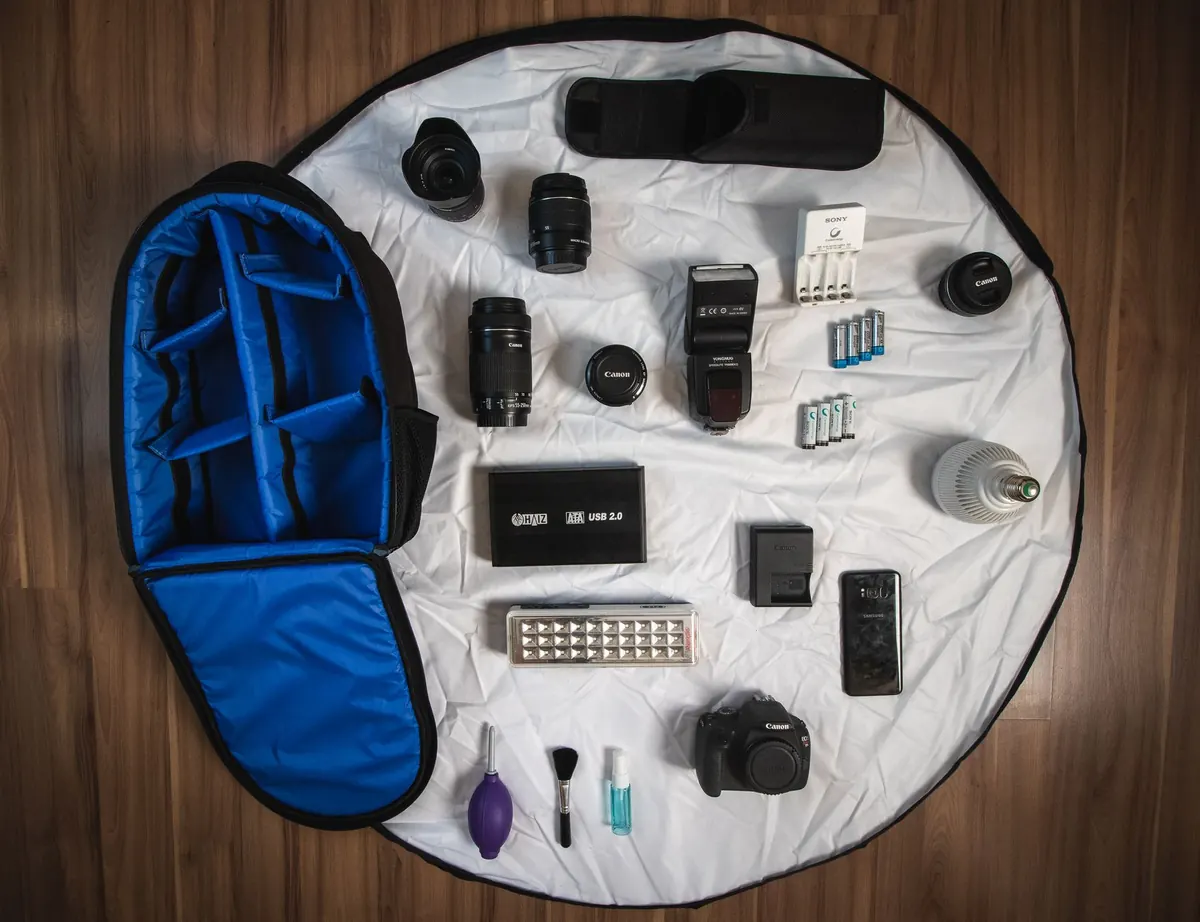
Below is the checklist I run through before leaving the house: eighteen items, grouped in the order you will actually reach for them.
Lenses: Four Focal Lengths, One Bag
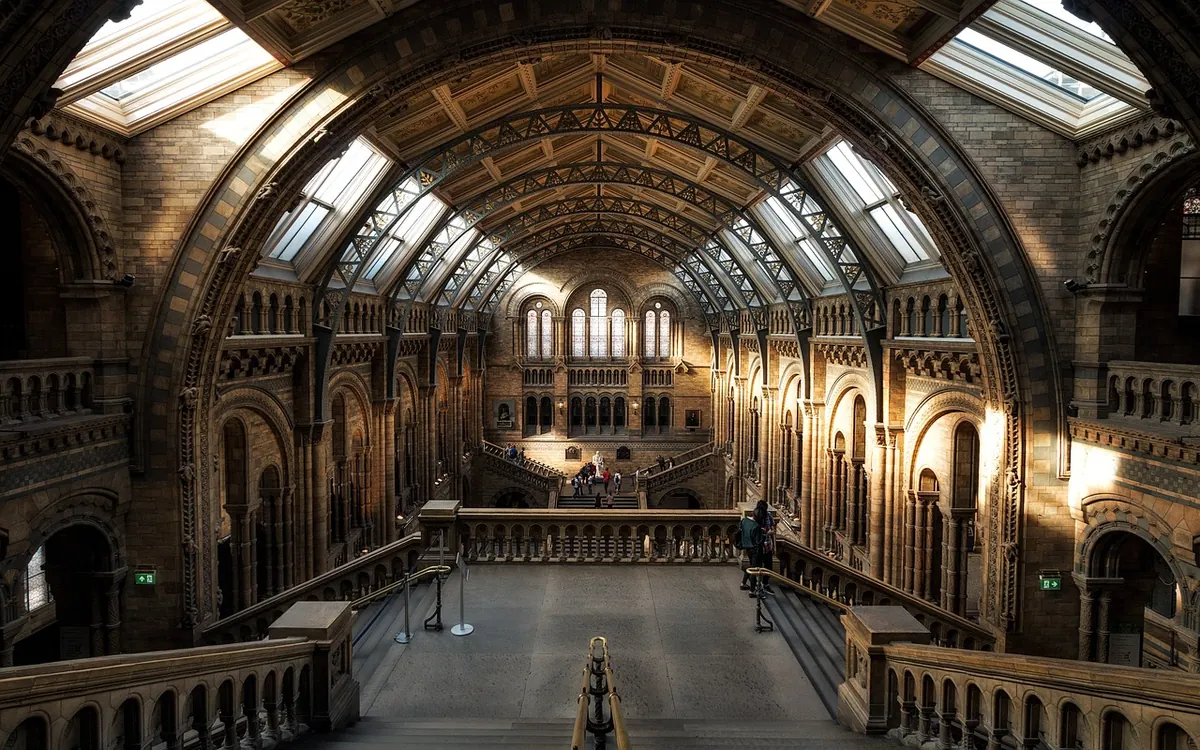
Chapels are small rooms with tall ceilings, which is an awkward combination. A 24mm feels wide at the door and cramped at the altar rail. Bring options you trust rather than one zoom and hope.
- 1. Wide-angle zoom (roughly 16–35mm on full frame, 10–24mm on crop). This is your nave frame, your ceiling vault, your shot from the back row that shows the whole room at once.
- 2. Fast prime, 35mm or 50mm at f/1.4–f/1.8. For low light, for people, and for the moment a verger asks you to stop using a tripod.
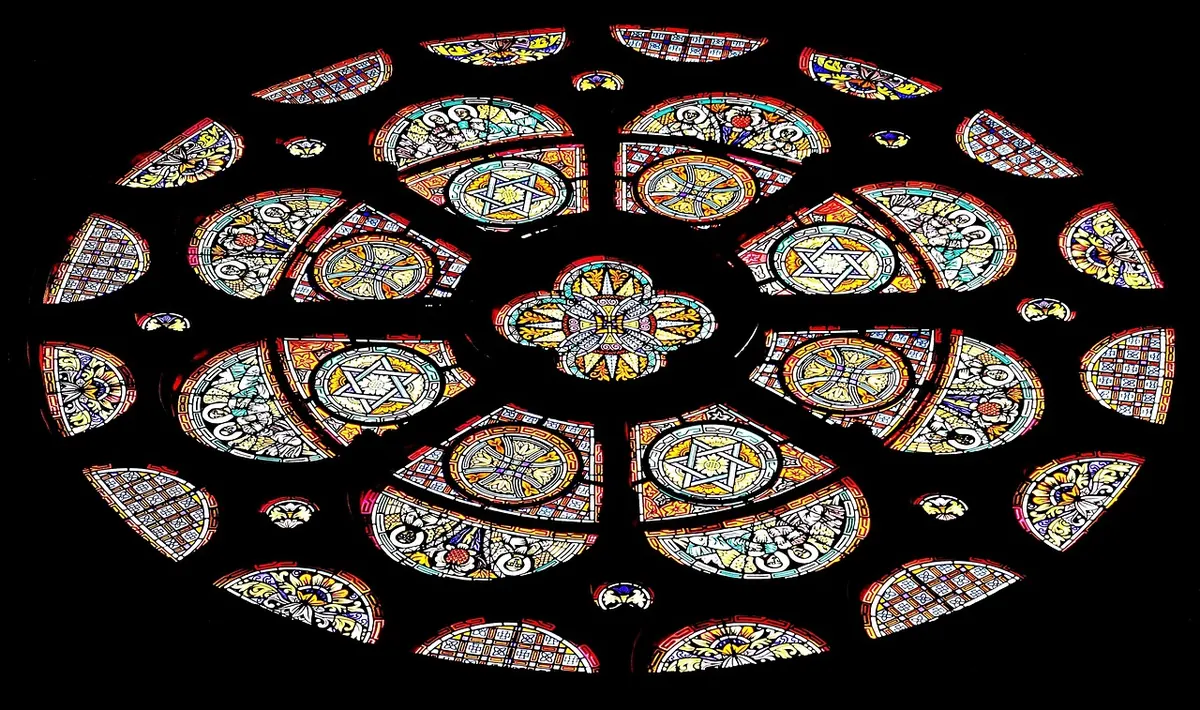
- 3. Short telephoto, 85mm to 135mm. Details: a hymn book left open, clasped hands, flowers on the sill, a single panel of stained glass. It also lets you work from the back without walking down the aisle.
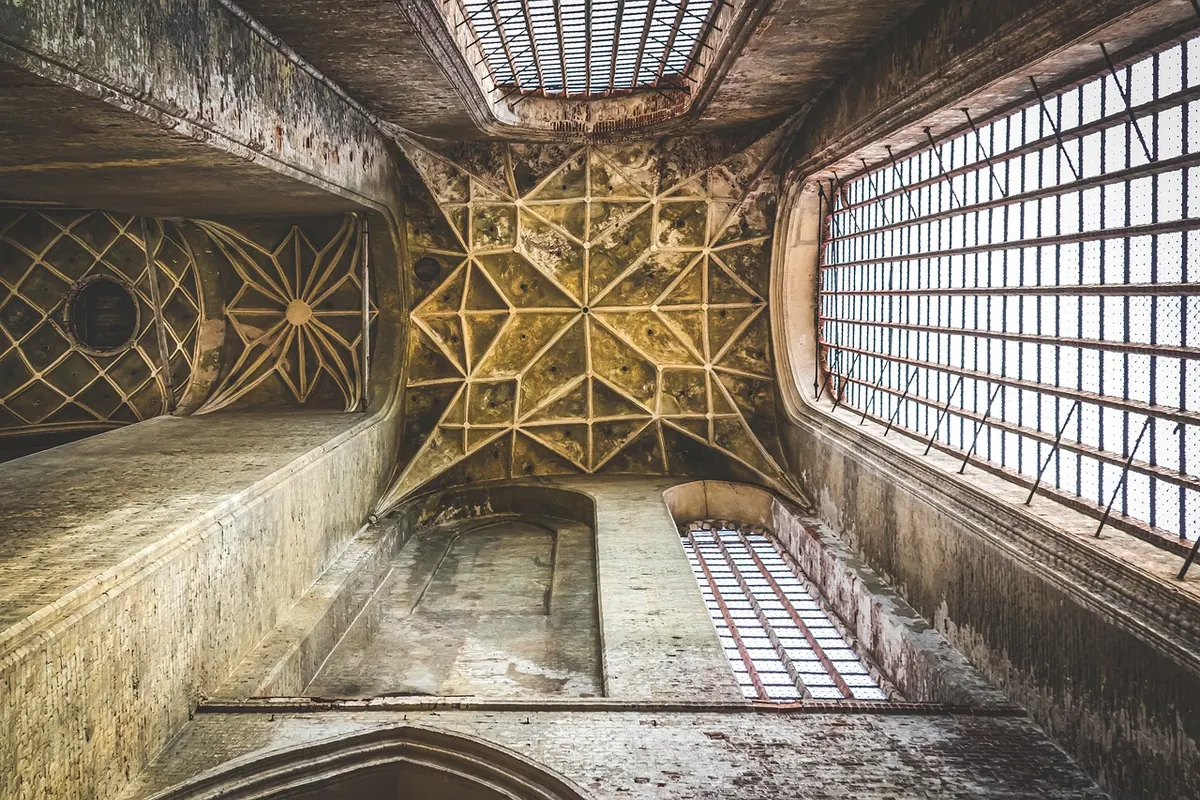
- 4. A tilt–shift lens, or a wide-angle you know how to correct. If verticals in your architecture shots lean like tired trees, this is the tool that fixes it in camera instead of in editing.
Supports and the Bits That Keep Them Steady
Ask about tripods when you book the visit, not when you arrive. Many chapels allow them outside service times and forbid them during worship; some forbid them entirely. If the answer is no, plan around it rather than negotiating on the day with a congregation watching.
- 5. Tripod with rubber feet. Swap out any metal spikes before you go. A wide, low stance on stone is steadier than a tall, narrow one, and rubber will not scar a wooden floor.
- 6. Ball head or geared head, plus spare quick-release plates. One plate per camera body, checked tight before every setup. A dropped body on flagstones ends the day.
- 7. Small clamp or tabletop tripod, with a cloth to pad it. For balcony rails, pew backs and deep window ledges. Never clamp straight onto old varnish; fold a microfibre cloth under the jaws first.
- 8. Beanbag or sandbag. It empties flat in your bag and turns a windowsill into a stable platform. Handy when the tripod is not allowed but a ledge is fair game.
If tripods are not permitted, a fast prime and a clean high-ISO file will beat a blurry wide shot every time. Learn where the light pools and work there.
Filters That Earn Their Place
Three filters, no more. Stacking glass on a wide lens in a dim chapel invites flare and soft corners.
- 9. Circular polarizer. It cuts glare on polished pews, brass and glass display cases. Expect to lose one to two stops. Rotate slowly and check that stained glass has not gone muddy or unnaturally purple.
- 10. Neutral density, 3-stop and 6-stop. Useful for long exposures that blur passing visitors into soft streaks, or for shooting wide open when the east window is throwing hard light across the aisle.
- 11. Graduated ND, or the discipline to bracket instead. Bright window against dark interior is the classic chapel problem. If a graduated filter feels fiddly, shoot three frames at different exposures and blend them later. Just make sure the camera does not move between frames.
Cloths, Tape and Cleaning
Old buildings are dusty. Chapels add candle soot, damp air and fingerprints from every visitor who touches the door frame.
- 12. Three microfibre cloths. One for glass, one for your hands and screens, one to lay under gear on a hard surface. Keep them in separate zip bags so grit does not migrate from one to the next.
- 13. Rocket blower and a lens brush or pen. Dust on the front element is a nuisance; dust on the sensor becomes a row of dark spots the moment you stop down to f/11 and shoot toward a window.
- 14. Black gaffer tape. For taping down a cable, holding a gel or marking a floor position. Test it first on a hidden surface: on historic wood, paint or varnish, use low-tack painter's tape, or use nothing at all.
- 15. Dark cloth or black towel, plus a foam kneeling pad. Drape the cloth over the camera to kill reflections on the screen and block stray light around the lens. The pad is for your knees, which will spend more time on stone than you expect.
Small Accessories That Save a Shoot
- 16. Headlamp with a red mode. Hands-free light for changing settings in a dark aisle. Red is less disruptive during quiet moments, and it does not wreck your eyes. Wear it around your neck, not on your forehead, while people are present.
- 17. Spare batteries and memory cards. Cold stone pulls battery life down faster than a warm room does. Carry two spares and a formatted card in an inside pocket, not in a bag on the floor.
- 18. Cable release or remote. For long exposures and bracketed sets without touching the camera. A two-second self-timer is an acceptable substitute if you have forgotten it.
Two items sit outside the count but deserve a pocket: a one-page note with the chapel contact number and your permission details, and a lens hood for every lens you bring. Flare from a bright window is easier to prevent than to retouch.
The Night-Before Check
Lay everything on the table, charge every battery, format every card and clean every piece of glass. Then pack in the reverse order of use, so the wide zoom and the tripod plate are on top and the filters are not buried under a jumper.
Confirm your access time, whether flash and tripods are allowed, and who to call if a door is locked. Dress quietly: soft soles, no rustling jacket, no clinking bag. When you arrive, spend two minutes standing still at the back before you open anything. Look up, note where the light falls, decide your three or four frames, then set up once and work calmly.
Keep the bag closed when you are not using it, stay out of the aisle if anyone is walking through, and leave the space exactly as you found it. Do that, and you will be welcome back.
Photo: Maurício Mascaro / Pexels